
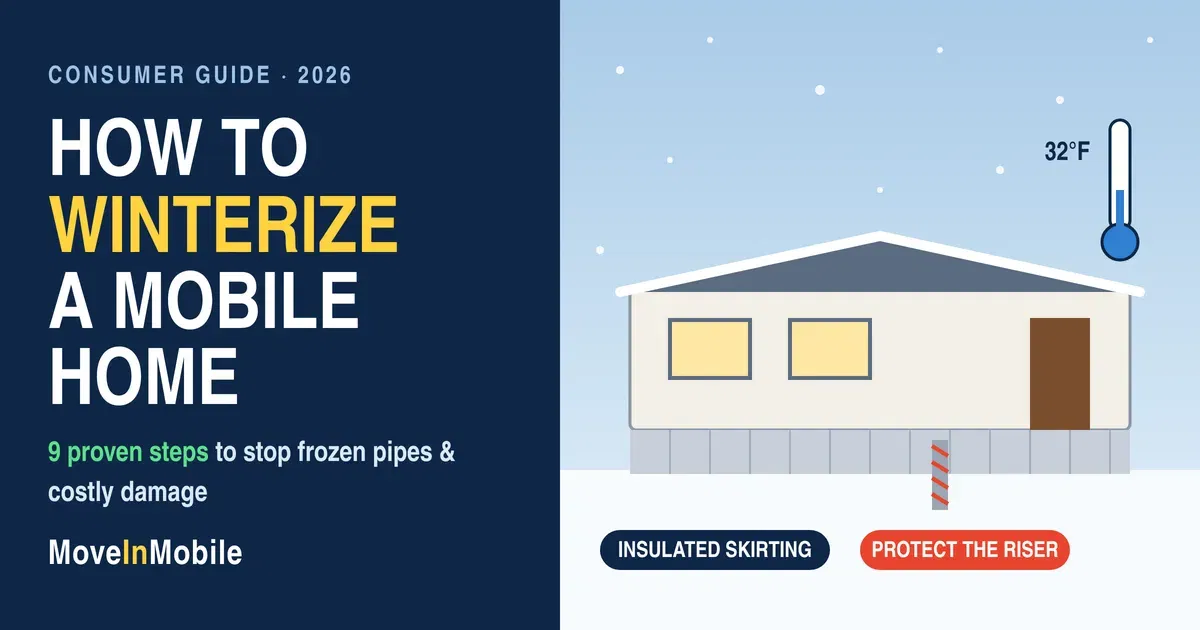
If you want to winterize a mobile home the right way, the time to start is before the first hard freeze, not the morning you wake up to no water. Manufactured homes are built differently from site-built houses. The plumbing runs through the underbelly, the water supply comes up out of the ground in a single exposed riser, and the only thing standing between your floor and the winter wind is a few feet of skirting.
That design is part of what makes mobile homes so affordable. It also means a single cold night can turn into a burst pipe, a soaked subfloor, and a repair bill that wipes out a year of savings. That’s exactly why it pays to winterize a mobile home every single fall.
The good news: most of the work is simple, inexpensive, and doable in a weekend. This guide walks through exactly how to winterize a mobile home in nine steps, what to do if you’re leaving the home empty, how to handle frozen pipes safely, and where to find free help if money is tight.
Why You Need to Winterize a Mobile Home (Even in a Mild Climate)
A site-built house usually has its pipes tucked inside heated walls or a basement. A manufactured home is different. Most supply and drain lines sit in the belly, the insulated cavity under the floor, protected by a thin bottom board and whatever still air your skirting holds in place.
When skirting is damaged or the bottom board is torn, cold air moves straight across those pipes. The weakest point is usually the water riser, the spot where your supply line comes up from the ground and into the home. It is exposed on every side and often relies on heat tape to stay above freezing.
According to the American Red Cross, water expands as it freezes and puts enough pressure on metal or plastic pipes to break them. In a mobile home, a burst line in the belly can soak insulation for days before you notice. By the time you see a soft spot in the floor, the damage is done.
Here’s what many owners in warmer states miss: you still need to winterize a mobile home in the South. Homes in places that rarely freeze are often the least prepared, so the occasional hard freeze does outsized damage. If your area sees even a few nights below 32°F, the steps below are worth your time.
Winterizing also pays off on your utility bills. The U.S. Department of Energy lists insulated skirting and belly insulation among the improvements that substantially reduce heat loss in manufactured homes. A warmer belly means warmer floors and a furnace that works less.
When Should You Winterize a Mobile Home?
The best time to winterize a mobile home is early to mid fall, once daytime temperatures start dropping but before overnight lows reach freezing. For most of the country, that means late September through October. In northern states, aim for September. In the Sun Belt, early November is usually fine.
A few signs it’s time to get started:
- Nighttime temperatures are dipping into the 40s.
- Your furnace is kicking on for the first time this season.
- The local forecast mentions frost.
- You’re planning to travel or leave the home empty for more than a few days this winter.
Don’t wait for the first freeze warning to winterize a mobile home. Hardware stores sell out of heat tape and pipe insulation fast once a cold snap hits the news, and skirting contractors book up.
Winterizing Supplies Checklist
You don’t need special tools to winterize a mobile home. Most of what you need is available at any home improvement store. Prices vary by region and brand, but the total for a typical home is usually modest compared to the cost of a single plumbing repair.
| Supply | What It’s For |
|---|---|
| Foam pipe insulation sleeves | Exposed supply lines and the water riser |
| UL-listed heat tape with a built-in thermostat | Keeping the riser and exposed pipes above freezing |
| Belly/bottom board repair tape or patch fabric | Sealing tears in the underbelly |
| Skirting panels or repair kit | Replacing cracked or missing skirting |
| Caulk and weatherstripping | Sealing windows, doors, and penetrations |
| Insulated faucet covers | Outdoor spigots |
| Furnace filters | Fresh filter at the start of heating season |
| Non-toxic RV antifreeze | Drain traps in a home you’re leaving vacant |
| Smoke and carbon monoxide alarms (or fresh batteries) | Heating-season safety |
| Flashlight, gloves, and a ground tarp | Crawling under the home safely |
How to Winterize a Mobile Home in 9 Steps
This is the most reliable order to winterize a mobile home. The first four protect your plumbing, which is where most winter damage happens. The rest protect your comfort, your energy bills, and your safety.
Step 1: Inspect and Repair the Skirting
The first step to winterize a mobile home is the skirting. Walk the full perimeter of the home. Look for cracked panels, gaps at the ground line, missing vent covers, and any spot where animals have pushed through. Even a small gap can let a steady draft blow across the belly all night.
Replace broken panels and re-secure loose ones. If your skirting is plain vinyl with no insulation, consider adding rigid foam board behind it or upgrading to insulated skirting. This is one of the improvements the Department of Energy specifically recommends for manufactured homes.
Most skirting includes vents to control moisture under the home. Don’t permanently seal every vent shut. Follow your installer’s or manufacturer’s guidance, which in many areas allows vent covers to be partially closed in winter and opened again in spring.
Step 2: Check the Underbelly and Bottom Board
With a flashlight, look under the home at the bottom board, the fabric or plastic barrier that holds insulation in the belly. Look for sagging sections, tears, holes from rodents, and wet or hanging insulation.
Patch small tears with bottom board repair tape. Larger damage may need a fabric patch fastened in place. If insulation is wet, find the leak before you seal anything up. Closing a wet belly traps moisture against the floor and pipes.
If you see standing water, drips, or soggy insulation, call a plumber before winter arrives. A slow leak in October becomes a frozen, split pipe in January, and no effort to winterize a mobile home can make up for a leak that’s still dripping.
Step 3: Insulate Pipes and Inspect the Heat Tape
Heat tape is the backbone of how most owners winterize a mobile home, and it deserves careful attention. The U.S. Consumer Product Safety Commission has long urged mobile home owners to inspect heat tapes and pipe heating cables every fall, because damaged or improperly installed tape can start a fire.
Follow the CPSC’s guidance:
- Unplug the tape first, then check its full length for cracked or charred insulation and bare wires. Replace it immediately if you find any.
- Buy replacement tape labeled for the diameter and length of the pipe you’re protecting.
- Don’t wrap the tape over itself unless the manufacturer’s instructions specifically allow it.
- Use a three-prong, grounded heat tape, and plug it into a GFCI-protected outlet.
- Replace older uncertified heat tapes with new ones certified to recognized safety standards.
Once the tape checks out, cover exposed supply lines with foam pipe insulation. Only insulate over heat tape if the tape’s instructions say it’s allowed. Some products are designed for it, and others can overheat.
Test the tape on the first cold night. Many have a small indicator light or a thermostat that only switches on near freezing, so a tape that feels cool on a mild afternoon isn’t necessarily broken.
Step 4: Protect the Water Riser and Outdoor Faucets
The riser deserves its own step because it freezes more than any other part of a mobile home’s plumbing. Make sure it’s wrapped with working heat tape and a thick layer of insulation from the ground up to where it enters the belly. Many owners also build a small insulated box or use a riser cover for extra protection.
Next, handle the outdoor faucets. The Red Cross recommends removing, draining, and storing outdoor hoses, closing the inside valves that supply outdoor spigots, and leaving the outside spigot open so any water left in the line can expand without breaking the pipe. Add an insulated faucet cover for good measure.
Finally, find your main water shutoff and make sure it turns easily. If a pipe does burst, every second counts, and everyone in the household should know where it is.
Step 5: Seal Windows, Doors, and Drafts
No plan to winterize a mobile home is complete without sealing drafts. Air leaks make your furnace work harder and leave cold spots near walls where plumbing runs. Check every window and exterior door for gaps, cracked caulk, and worn weatherstripping.
Re-caulk around window frames and replace flattened weatherstripping on doors. Older single-pane windows can get plastic window insulation film for the season. Don’t forget smaller openings: places where pipes, wires, and vents pass through walls and floors. The DOE recommends air sealing these penetrations around plumbing and ducts in manufactured homes.
Step 6: Service the Furnace and Check the Ductwork
Replace the furnace filter and run the system before you need it. A burning-dust smell for a few minutes on first startup is normal. A persistent odor, unusual noises, or short cycling is not. Older units benefit from a professional tune-up every year or two.
Many manufactured homes use a furnace approved specifically for manufactured housing. If you ever replace it, make sure the new unit is rated for mobile home use.
If you have a double-wide, check the crossover duct under the home. This flexible duct carries warm air from one section to the other, and if it’s crushed, disconnected, or torn, half your home stays cold while your heating bill climbs. Make sure it’s connected at both ends, off the ground, and insulated.
Step 7: Inspect the Roof and Gutters
When you winterize a mobile home, don’t skip the roof. Look for loose seams, lifted flashing, and cracked sealant around vents and skylights. Metal roofs in particular rely on seam sealant that breaks down over time. A roof coating applied in early fall can stop small leaks before snow and ice make them worse.
Clean gutters so melting snow drains away instead of backing up. Check your home’s data plate for its roof load zone, which tells you how much snow load the roof was designed for. Homes in snowy regions should have a plan for safely clearing heavy accumulations, ideally with a roof rake from the ground.
Step 8: Check Leveling, Piers, and Tie-Downs
Freeze-and-thaw cycles can shift the soil under a manufactured home. Over time, that movement can loosen tie-down straps or let piers settle unevenly.
Signs of a problem include doors that suddenly stick, new cracks at wall seams, or windows that won’t latch. Look at the straps and anchors for rust or slack while you’re under the home. If anything looks off, have a qualified installer re-level and re-tension it. A home that’s out of level can also strain plumbing joints, which is the last thing you want heading into winter.
Step 9: Test Smoke and CO Alarms and Plan for Safe Heating
The last step to winterize a mobile home is all about safety, because heating season is fire season. Test every smoke alarm and carbon monoxide alarm, replace batteries, and replace any alarm past its expiration date. If you have gas or propane appliances, a CO alarm is essential.
If you use space heaters, follow the U.S. Fire Administration’s guidance: keep them at least three feet from anything that can burn, choose a model with automatic tip-over shut-off, plug it directly into a wall outlet rather than an extension cord or power strip, and turn it off when you leave the room or go to sleep.
Never use an oven or outdoor grill to heat your home, and never run a generator indoors or in an attached space.
How to Winterize a Mobile Home You’re Leaving Empty
If you’re a snowbird, own a vacation property, or are holding a home for sale over the winter, you need to winterize a mobile home more thoroughly. A vacant home has no one around to notice a problem.
You have two options. The first is to keep the heat on. The Red Cross recommends leaving the heat set no lower than 55°F if you’ll be away during cold weather. Keep heat tape plugged in, open cabinet doors under sinks, and ask a neighbor or park manager to check the home regularly.
The second is a full shut-down for a home that will sit empty for months:
- Turn off the main water supply.
- Turn off the water heater’s power or gas before draining it, then drain it according to the manufacturer’s instructions.
- Open every faucet, hot and cold, and flush the toilets to empty the lines.
- Open any low-point drains to let remaining water out.
- Pour non-toxic RV antifreeze into sink, tub, and shower drains, and into the toilet tank and bowl, to protect the traps.
- Unplug appliances you won’t need, and leave the refrigerator door propped open if it’s off.
Even with the water drained, keep the skirting in good shape and have someone check the home after storms. And call your insurance company before you leave. Many policies have rules about how long a home can be vacant and what steps you must take to keep coverage in place. Our guide to what insurance you need for a mobile home covers the basics.
What to Do If Your Pipes Freeze Anyway
Even if you winterize a mobile home carefully, a record cold snap or a failed heat tape can still freeze a line. If you turn on a faucet and only a trickle comes out, suspect a frozen pipe. In a manufactured home, start by checking the riser and any lines near the outside walls.
The Red Cross recommends these steps:
- Keep the faucet open. As the ice melts, running water helps thaw the rest.
- Warm the frozen section with an electric heating pad, a hair dryer, a portable space heater kept away from flammable materials, or towels soaked in hot water.
- Never use a blowtorch, kerosene or propane heater, charcoal stove, or any open flame. This is especially important under a mobile home, where insulation and the bottom board can catch fire.
- Keep applying heat until full water pressure comes back.
- Check every other faucet. If one pipe froze, others may have too.
If you can’t find the frozen section, can’t reach it, or can’t get it thawed, call a licensed plumber. And if a pipe has already split, shut off the main water supply right away.
During extreme cold, the Red Cross also suggests letting cold water drip from faucets served by exposed pipes and keeping the thermostat at the same temperature day and night. Your heating bill may go up a little, but that costs far less than a burst pipe. Once the line is thawed, figure out why it froze and fix that spot before the next cold night.
Free Help to Winterize a Mobile Home
Money shouldn’t be the reason you can’t winterize a mobile home before the cold arrives. Two federal programs can help.
The Weatherization Assistance Program (WAP). Run by the U.S. Department of Energy through local agencies, WAP makes energy-efficiency improvements at no cost for income-eligible households, and manufactured homes qualify. Work may include air sealing, belly and floor insulation, and heating system repairs. DOE reports that weatherized households save an average of $372 or more per year. Eligibility rules vary by state, and many states use a limit around 200% of the federal poverty level. Visit the DOE’s Weatherization Assistance Program page to find out how to apply.
The Low Income Home Energy Assistance Program (LIHEAP). Administered by the U.S. Department of Health and Human Services, LIHEAP helps eligible households pay heating and cooling bills, and in some states it also covers energy-related repairs. Many states use a single application for both LIHEAP and weatherization.
Also check with your utility company. Many offer free energy audits, rebates on insulation, or discounted programs for seniors and low-income customers.
How Winterizing Fits Into Your Yearly Maintenance Budget
When you winterize a mobile home every fall, you’re doing the single most cost-effective piece of maintenance on your calendar. A roll of heat tape, a few insulation sleeves, and a tube of caulk cost far less than a plumber, a new subfloor, or a mold cleanup.
It also protects your home’s value. Buyers and inspectors look closely at the belly, skirting, and floors. A home with a history of water damage is harder to sell and often sells for less. For a full breakdown of what owners spend each year, see our guide to how much it costs to maintain a mobile home.
Buying a Mobile Home This Winter? What to Check
If you’re shopping during the colder months, winter is actually a great time to see how a home really performs. Ask the seller whether they take time to winterize a mobile home each year, then add these items to your walkthrough:
- Skirting: Is it complete, secure, and insulated?
- Underbelly: Ask to see under the home. Look for torn bottom board and wet or sagging insulation.
- Heat tape: Is it on the riser, and does it look newer and undamaged?
- Floors: Soft spots near bathrooms, the kitchen, or exterior walls can mean past leaks.
- Furnace: When was it last serviced, and is it rated for manufactured homes?
- Warm spots and cold spots: Walk the whole home. Big temperature differences can point to a damaged crossover duct or poor insulation.
Not sure whether the home you’re considering is a mobile, manufactured, or modular home? Construction affects how you’ll winterize it, so read our breakdown of mobile vs. manufactured vs. modular homes first.
When you’re ready to look at homes, browse current listings on MoveInMobile.com, where you can connect directly with sellers and ask about a home’s winter history before you buy.
Frequently Asked Questions
How much does it cost to winterize a mobile home? If you do it yourself, most of the cost is supplies like heat tape, pipe insulation, caulk, and filters, and the total is usually modest. Costs rise if you need new skirting, belly repairs, or a furnace service call. Either way, it’s far cheaper than repairing a burst pipe.
Should I leave my heat tape plugged in all winter? Most modern heat tapes have a built-in thermostat that only turns on near freezing, so they’re designed to stay plugged in during cold months. Check the manufacturer’s instructions, and inspect the tape regularly for damage.
Should I drip my faucets every night? During very cold weather, yes. The Red Cross notes that even a trickle of moving water helps keep pipes from freezing. Focus on faucets served by pipes along outside walls or near the riser.
Can I winterize a mobile home myself? Yes. Most of the steps in this guide are DIY friendly. Call a professional for electrical work, furnace repairs, re-leveling, or any leak you can’t locate.
Is it worth paying a pro to winterize a mobile home? For most owners, a DIY approach covers the basics. Paying a pro makes sense if you need skirting replaced, belly repairs, furnace service, or if you’re uncomfortable crawling under the home. Many owners do the simple steps themselves and hire out only the heavy jobs.
What temperature should I keep my mobile home at when I’m away? The Red Cross recommends no lower than 55°F if you’ll be away during cold weather.
Final Thoughts
Learning how to winterize a mobile home takes one weekend and pays off every year you own it. Check the skirting and belly, protect the riser with safe heat tape and insulation, seal the drafts, service the furnace, and test your alarms. If you’re leaving for the season, drain the lines or keep the heat at 55°F or higher.
The smartest time to winterize a mobile home is before you need to. Do it now, while the weather is still mild, and you’ll head into winter with warmer floors, lower bills, and no 6 a.m. surprise under the sink.
Looking for your next home, or getting ready to sell one? Visit MoveInMobile.com to browse listings and connect directly with buyers and sellers in your area.